Oh, how sweet and delicious! Creme Brulee (or how it’s spelled in French: Crème brûlée) is a delicacy of French cuisine that is simple to make and is considerably low-carb and keto friendly! If you don’t mind a few grams of carbs from the sugar top (the carb count can really be lowered with the correct heavy cream), this will satisfy all your sweet tooth cravings!
Is this Low-Carb or Keto friendly?
Yes! It’s pretty much a fat bomb!
Why use real sugar for the brulee?
The hard top (i.e. the ‘brulee’ of the creme brulee) is extremely difficult to do with low-carb sweeteners. I’ve tried them all (erythitrol, allulose, golden erythitrol, stevia, etc, etc) and only one got slightly hardened – most just became a goopy mess that tasted terrible and was not pleasant to eat. After making my kitchen smell like burnt cat hair after trying over and over again with the different sweeteners, I settled on accepting the fact that as of this time, there is no replacement for real sugar for the brulee. If you can stomach the few grams of carbs, I highly recommend it.
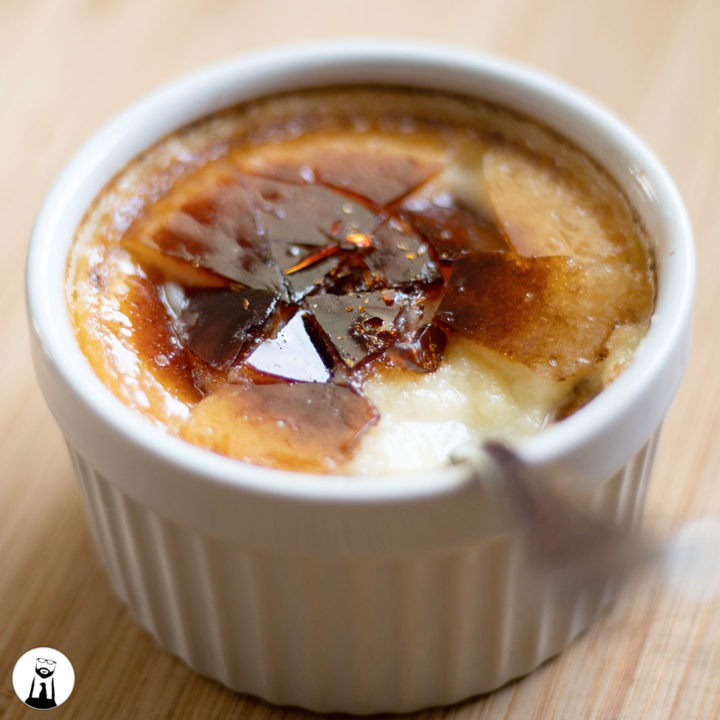
Crème Brûlée
An old school dessert that is incredibly rich and perfect for low-carb and keto!
Ingredients
- 2 cups (500 ml) heavy cream
- 3 egg yolks
- ¾ cup (110 g) sweetener (allulose or erythitrol)
- 1 tbsp vanilla extract
- salt
Hardware
- pot
- bowl
- smaller bowl
- whisk
- ladle
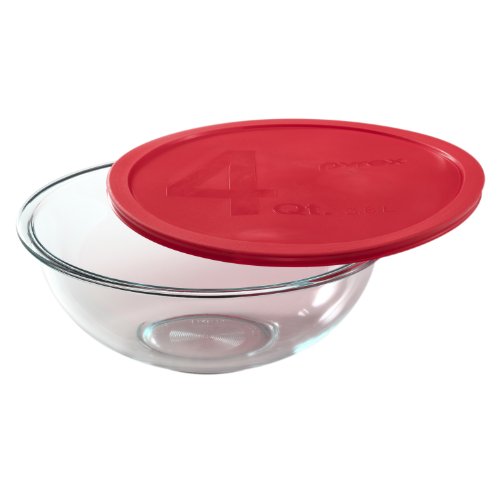
- 4 medium ramekins
- cake pan
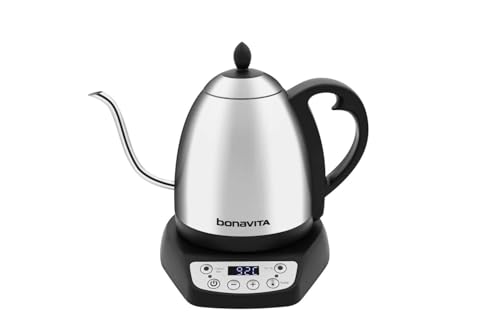
- kettle (or hot water)
- small strainer
- tongs
- slotted spoon
- cooling rack
- plastic wrap
- a torch
Instructions
- Preheat the oven to 325°F / 163°C.
- In a pot, add the the heavy cream, vanilla extract, and a pinch of kosher salt. Stir, and place on the stove top to simmer. You don’t want the cream to break, simply to simmer for a few minutes.
- While the cream heats up, set some water to heat up. If you have a kettle, that’s the ideal way to go. How much you need depends on how big your cake pan is. You want to have enough to come halfway up the ramekins.
- While everything is heating up, separate three yolks from the whites into two separate bowls. Store the egg whites for something else (like meringue!).
- Add the erythitrol to the egg yolks and whisk together. Continue whisking until it becomes a buttery smooth mixture.
- Remove the cream from the heat and bring it next to your egg yolk sugar mixture.
- Using a ladle, slowly add the cream into the yolk mixture while vigorously stirring with a whisk. We want to temper the eggs. If not done slowly, the eggs will scramble and ruin the dish.
- After 3 ladle fulls, add the rest of the cream and mix well.
- Then, place your ramekins inside the cake pan.
- Using the ladle, pour the hot heavy cream mixture through the strainer and into the ramekins. This removes any inconsistencies and ensures a smooth custard.
- Fill all the ramekins so they are even.
- Bring the cake pan to the stove top as a staging area. evenly spread out the ramekins so they have room between each other and the cake pan. Then, place the cake pan into the oven.
- Using the hot water (from the kettle or a pot), add water to the pan so that it comes up halfway on the ramekins.
- Set a timer for 1 hour and let cook.
- Check the custard by giving the cake pan a little shake. You want the custard to be wobbly in the center, but firm along the outside. If it is not fully cooked, give it extra time, checking every 5 minutes or so. Depending on how hot your water was and your oven, cooking time varies between 45 minutes and 1 hour 30 minutes.
- Remove the cake pan from the stove and onto the stove top. DON’T TRY TO BE A HERO – the
water is stupid hot and is easily spill able. - Using tongs and a slotted spoon, fetch the ramekins out of the water bath and onto a cooling rack. Let them cool to room temperature, roughly 30 minutes.
- Cover the ramekins with plastic wrap and place into the fridge to cool completely – at least 1 hour, but a overnight is best.
- Before serving, remove the ramekins from the fridge and let cool to room temperature, roughly 20 minutes.
- Add 1-2 tbsp of sugar (or artificial sweetener if you don’t take my advice) and spread it along the top of the ramekin, making sure to cover to custard.
- Place the ramekin on something that is fire proof.
- Light your torch away from the food (so as not to get chemical residues or flavors) and then torch the top of your custard. Begin farther away so as not to burn the sugar. It will begin to bead and ‘sweat’ – continue until you achieve a medium dark brown color.
- Let the creme brulee cool for at least 5 minutes. It may not look hot, but that’s basically sugar lava.
- Serve! Using a spoon, crack that top and go to town. Enjoy!
Notes
TIP: If you don’t have a torch, simply place your sugar coated custard ramekins on a baking sheet on the top rack of the oven and put the broiler on high for ~5 minutes. Keep a close eye on it because it can quickly burn!
The carb count can be made lower if you use heavy cream that has no carbs. 8.5g carbs is the highest you should have when using a low-carb sweetener and a a heavy cream that has some carbs!
Recommended Products
As an Amazon Associate and member of other affiliate programs, I earn from qualifying purchases at NO cost to you! This helps keep the lights on, the site running, and the videos coming!

Nutrition Information
Yield 4 Serving Size 1 ramekinAmount Per Serving Calories 441Total Fat 43gCarbohydrates 8.5gNet Carbohydrates 8gProtein 2g